
Introduction
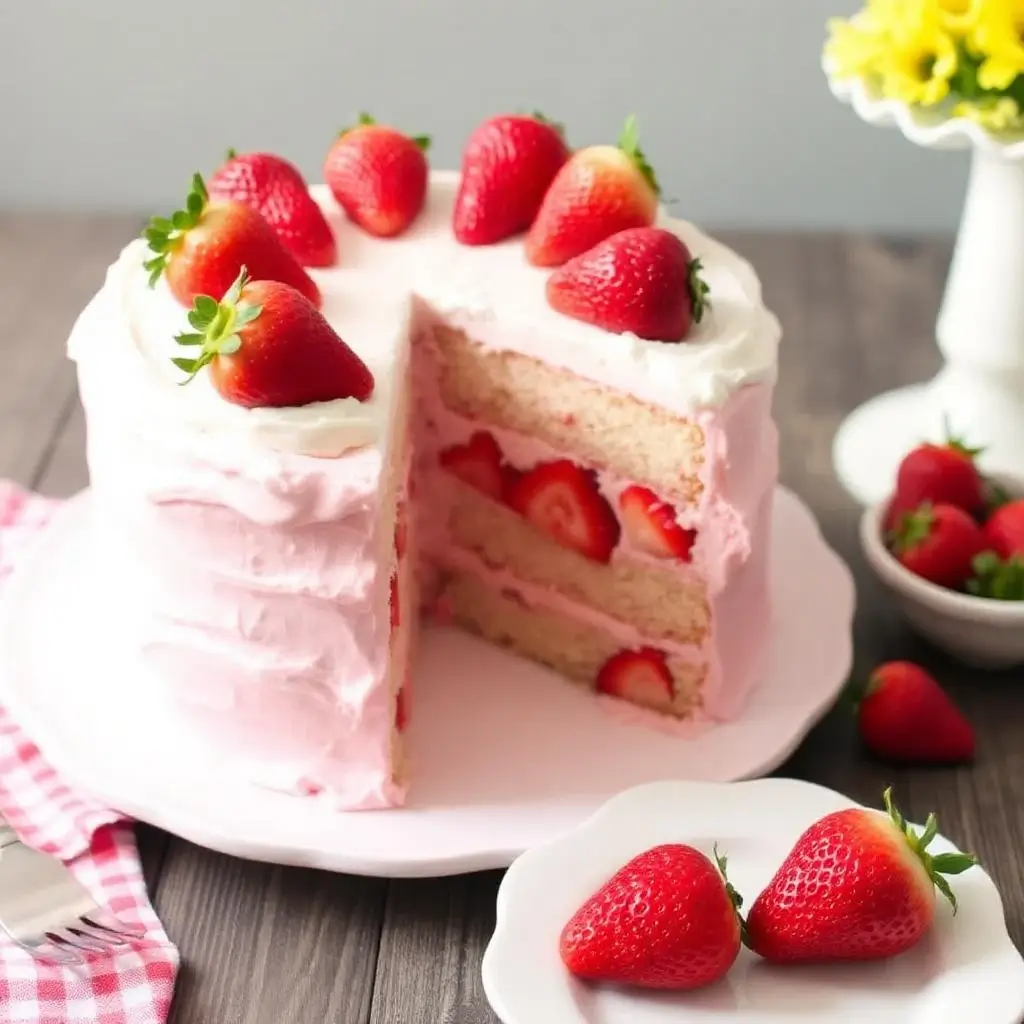
There’s something undeniably special about a homemade strawberry layer cake. With its moist, tender crumb, layers of fresh strawberry flavor, and a dreamy frosting to tie it all together, this classic dessert is a favorite for birthdays, springtime gatherings, and any occasion that calls for a sweet showstopper.
In this post, we’ll walk you through how to make the perfect strawberry layer cake completely from scratch—no boxed mixes, no shortcuts. From selecting the best strawberries and must-have tools to baking evenly, layering like a pro, and adding beautiful final touches, you’ll learn everything you need to create a cake that’s as stunning as it is delicious.
Whether you’re a seasoned baker or trying your hand at cake-making for the first time, this step-by-step guide will help you bake with confidence and wow your friends and family with every slice.
Ingredients and Tools You’ll Need
Essential Ingredients for the Cake
Creating the perfect strawberry layer cake from scratch starts with selecting the right ingredients. Each component plays a vital role in the flavor, texture, and overall success of the cake. Let’s break down what you’ll need and why it matters:
All-purpose flour, baking powder, and granulated sugar
These are your fundamental dry ingredients:
- All-purpose flour is the structural backbone of your cake. It provides the necessary gluten to hold the cake together while still keeping it tender. It’s the best choice for beginners because it’s versatile and easy to work with.
- Baking powder acts as the leavening agent, helping the cake rise and achieve a light, airy texture. Be sure to check the expiration date; fresh baking powder ensures the best lift.
- Granulated sugar not only sweetens the cake but also helps create a moist crumb by locking in moisture. It aids in the browning of the cake, giving it a beautiful golden color.
Fresh strawberries and strawberry puree
These are the heart of your cake’s flavor:
- Fresh strawberries provide a bright, juicy sweetness and are a must for both the batter and decoration. Choose ripe, fragrant strawberries for maximum flavor.
- Strawberry puree is often used in the batter and sometimes in the frosting. You can make it by blending fresh strawberries and simmering them until thickened. This concentrated flavor infuses the cake layers with a natural strawberry taste, far superior to artificial flavoring.
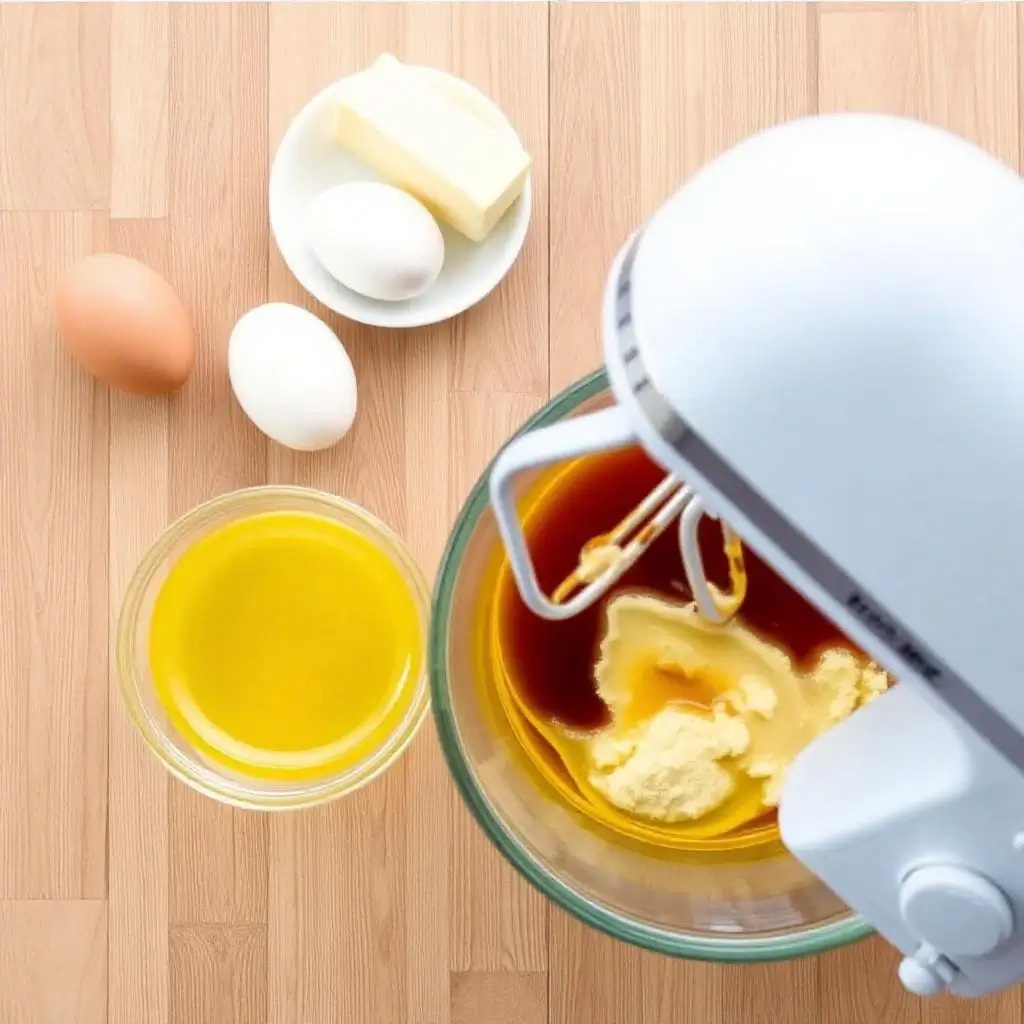
Eggs, butter, and vanilla extract
These ingredients bring richness, moisture, and balance:
- Eggs help bind all the ingredients together and contribute to the cake’s structure. Using room-temperature eggs allows for better mixing and helps the cake rise evenly.
- Unsalted butter adds richness and a soft, velvety texture. Creaming the butter with sugar also introduces air into the batter, which makes for a lighter cake.
- Vanilla extract enhances the flavor of the strawberries by adding warm, aromatic notes. Even though it’s a background flavor, it rounds out the overall taste of the cake beautifully.

Each of these ingredients plays a critical role, and using them in the right proportions is key to achieving a moist, flavorful, and perfectly layered strawberry cake. Don’t cut corners here—quality ingredients make a noticeable difference in both taste and texture.
Must-Have Tools for Baking
Having the right tools can make the difference between a stressful baking experience and a smooth, enjoyable one. If you’re making a strawberry layer cake from scratch, these essential baking tools will help you prepare, bake, and assemble your cake with ease and precision.
Electric Mixer and Mixing Bowls
- Electric mixer (stand or handheld) is a baker’s best friend when it comes to making cakes. Creaming butter and sugar until fluffy or beating eggs into batter requires consistent speed and power—both of which are hard to achieve manually.
- A stand mixer is ideal for multitasking, while a hand mixer is perfect for smaller kitchens or occasional bakers.
- Mixing bowls of various sizes are essential for separating wet and dry ingredients. Glass or stainless steel bowls are sturdy and easy to clean.
Cake Pans and Parchment Paper
- Round cake pans (usually 8- or 9-inch) are the standard for layer cakes. Using two or three identical pans helps ensure even layers and consistent baking.
- Invest in high-quality, non-stick pans to avoid uneven baking or stuck cakes.
- Parchment paper is a must for lining the bottom of your pans. It ensures easy release and prevents your cake from tearing or sticking when unmolding.
Cooling Rack and Measuring Cups
- A cooling rack allows air to circulate around your cake layers as they cool. This prevents sogginess and keeps the texture just right. Place cakes on a rack immediately after removing them from the pans.
- Measuring cups and spoons are crucial for baking accuracy. Use dry measuring cups for ingredients like flour and sugar, and liquid measuring cups for ingredients like milk or strawberry puree.
- Even slight variations in ingredient amounts can affect the cake’s texture or taste, so precision is key.
Step-by-Step Guide to Baking the Perfect Strawberry Cake
Preparing the Strawberry Puree and Batter
This is one of the most important steps in making a strawberry layer cake from scratch. Properly preparing the strawberry puree and batter ensures your cake has that fresh, natural strawberry flavor with a soft, moist texture.
Making the Strawberry Puree
The strawberry puree is the star of the show—it’s what gives the cake its fruity essence:
- Start by washing, hulling, and chopping fresh strawberries. Use ripe berries for the best flavor and natural sweetness.
- Blend the strawberries in a food processor or blender until smooth. If you prefer a smoother cake texture, you can strain the puree to remove seeds, but it’s optional.
- For a more concentrated flavor, simmer the puree in a saucepan over medium heat for about 10–15 minutes until it reduces by about half. This thickens the puree and intensifies the strawberry flavor, which prevents excess moisture from affecting your cake’s structure.
Combining the Dry and Wet Ingredients
Once the puree is ready, you can move on to mixing your cake batter:
- Whisk the dry ingredients (flour, baking powder, and a pinch of salt) together in one bowl to ensure even distribution.
- In a separate bowl, cream the butter and sugar using a hand or stand mixer. This step incorporates air into the batter, giving the cake a light, fluffy texture.
- Add the eggs one at a time, mixing well after each addition to keep the batter smooth and emulsified.
- Stir in vanilla extract for added warmth and depth of flavor.
Incorporating the Strawberry Puree into the Batter
With both the wet and dry components ready, it’s time to combine everything:
- Alternate adding the dry ingredients and the cooled strawberry puree into the creamed butter mixture. This helps prevent overmixing and keeps the batter well-balanced.
- Mix just until combined—don’t overbeat, or the cake may become dense instead of tender.
- If desired, you can fold in a few drops of natural pink food coloring or freeze-dried strawberry powder for a richer color.
Baking the Cake Layers Evenly
Once your batter is ready, it’s time to bake your strawberry cake layers to golden, fluffy perfection. Even baking is essential—not only for looks but also for consistency in texture and flavor. Here’s how to ensure your layers bake evenly every time.
Preheating the Oven and Setting the Correct Temperature
- Always preheat your oven before placing your cakes inside. This ensures the batter begins to bake immediately and rise properly.
- The ideal temperature for most strawberry layer cakes is 350°F (175°C). However, oven temperatures can vary, so it’s a good idea to use an oven thermometer to check for accuracy.
- Avoid opening the oven door during the first 20 minutes of baking, as this can cause your cake to collapse from a sudden drop in temperature.
Dividing the Batter Evenly Between Cake Pans
- Evenly divided batter ensures each layer bakes at the same rate and rises uniformly.
- Use a kitchen scale to weigh your mixing bowl before and after adding the batter to calculate the total weight. Divide that by the number of pans and pour equal amounts into each.
- If you don’t have a scale, a measuring cup or ladle can help approximate even portions.
- Give each pan a gentle tap on the counter to release air bubbles and level the batter.
Tips to Prevent Overbaking or Dry Cake
- Begin checking your cakes about 5 minutes before the minimum bake time suggested in your recipe.
- Insert a toothpick or cake tester into the center of each layer—if it comes out clean or with a few moist crumbs, your cake is done.
- Avoid overbaking, as this will result in dry, crumbly layers. A fully baked cake should feel springy to the touch and just begin pulling away from the edges of the pan.
- Once baked, let the layers cool in the pans for 10–15 minutes before transferring them to a wire rack.
Cooling and Leveling the Layers
Proper cooling and leveling are crucial steps that are often overlooked but make a huge difference in the final appearance and texture of your strawberry layer cake. If you want a bakery-quality finish, you’ll want to take your time with these steps.
Proper Cooling Technique on Wire Racks
- Once your cake layers are done baking, remove them from the oven and let them rest in the pans for 10 to 15 minutes. This allows them to firm up slightly, making them easier to handle without breaking.
- After the initial resting period, gently run a knife around the edges of the pans to loosen the cakes and invert them onto wire racks.
- Cooling on a wire rack allows air to circulate around the entire cake, preventing condensation from forming underneath, which can make the cake soggy.
Trimming Domed Tops for a Flat Layer
- Even if you’ve followed all the baking tips, your cakes may still dome slightly in the center—which is perfectly normal.
- To create perfectly even, stackable layers, use a serrated knife or a cake leveler to gently trim off the domed tops.
- Hold the knife steady and rotate the cake as you cut to maintain a flat, level surface. Save the trimmings—they make a great snack or can be crumbled as a garnish!
Storing Layers Before Assembling
- If you’re not assembling your cake right away, it’s important to store the layers properly to keep them moist.
- Wrap each cooled cake layer individually in plastic wrap to prevent drying out. You can also place them in an airtight container for added protection.
- For longer storage, the layers can be refrigerated for up to 2 days or frozen for up to 1 month. Just be sure to let them come back to room temperature before decorating for the best texture.
Assembling and Decorating Your Strawberry Layer Cake
Choosing the Right Frosting
Frosting is more than just a finishing touch—it plays a major role in the overall flavor, texture, and visual appeal of your strawberry layer cake. Whether you’re aiming for a light and fruity finish or a rich and creamy indulgence, selecting the right frosting can make all the difference. Here are the best options and how to choose the one that suits your style.
Strawberry Buttercream for a Rich, Fruity Finish
- Strawberry buttercream is a classic choice that pairs beautifully with the cake’s natural strawberry flavor. It’s rich, creamy, and loaded with fresh strawberry goodness.
- You can make it by whipping together unsalted butter, powdered sugar, and reduced strawberry puree or freeze-dried strawberry powder for a concentrated fruit flavor.
- This frosting spreads easily, holds its shape well for decorating, and adds a luscious texture to each bite.
Cream Cheese Frosting for a Tangy Contrast
- If you’re looking for something less sweet with a tangy kick, cream cheese frosting is a fantastic alternative.
- Made with cream cheese, butter, vanilla extract, and powdered sugar, this frosting is velvety smooth and offers a nice balance to the sweet strawberry cake layers.
- It works especially well in the spring and summer months, offering a slightly lighter taste while still feeling indulgent.
Whipped Cream or Whipped Frosting for a Light Option
- For a more delicate and airy finish, stabilized whipped cream or a light whipped frosting can be used.
- These options let the strawberry flavor shine through without overpowering it and are ideal if you want a “fresher,” less buttery feel.
- Stabilized versions (using gelatin or cornstarch) help maintain structure, especially if you’re layering and refrigerating the cake.
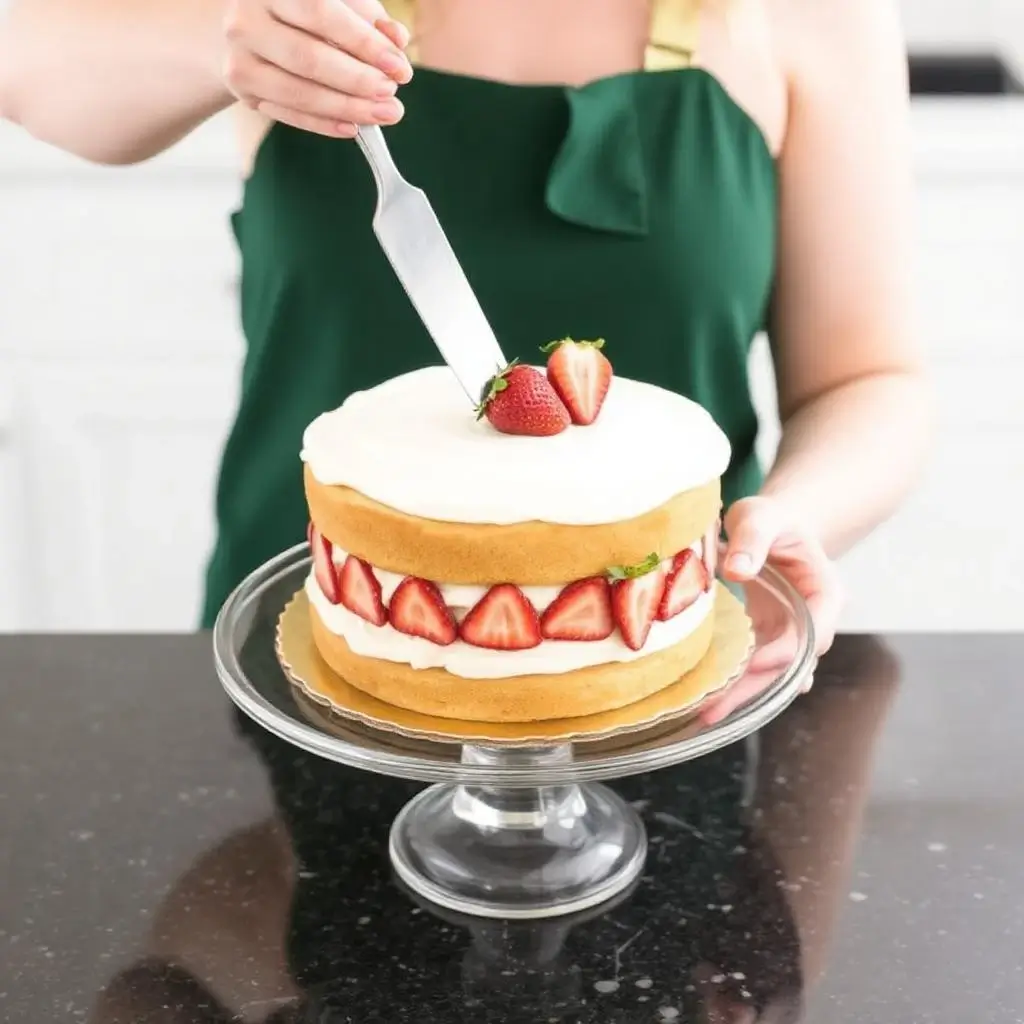
Layering the Cake Like a Pro
Assembling your strawberry cake is where all the elements—moist layers, creamy frosting, and vibrant strawberry flavor—come together. Layering your cake properly is essential for both visual appeal and structural stability. Whether you’re baking for a special occasion or simply indulging in a weekend treat, here’s how to layer your cake like a pro.
Evening Out Layers for Uniform Height
- Start with completely cooled and leveled cake layers. If the tops are still domed or uneven, use a serrated knife or cake leveler to trim them flat.
- Aim for consistency—uniform layer thickness gives your cake a polished look and prevents lopsidedness when stacking.
- Place your first layer flat-side down on a cake board or serving plate for maximum stability.
Spreading Frosting and Filling Evenly
- Use an offset spatula or the back of a spoon to apply an even layer of frosting or filling over the top of the first cake layer.
- If you’re using strawberry jam, curd, or compote as a filling, consider piping a ring of frosting around the edge of the layer first to keep the filling from spilling out (this is called a frosting dam).
- Continue stacking each layer, repeating the process and checking as you go to ensure the cake is level.
Chilling Before Final Frosting
- Once all the layers are stacked, apply a thin crumb coat (a light layer of frosting that seals in crumbs) over the entire cake. This creates a smooth base for your final layer of frosting.
- Place the cake in the refrigerator for 20–30 minutes to allow the crumb coat to set. This step makes the final frosting layer easier to apply and helps keep the cake stable.
- After chilling, finish with a thicker outer layer of frosting, smoothing it out with a bench scraper or offset spatula. You can keep it sleek and minimal or decorate with swirls, piped borders, or fresh strawberries.
Final Touches and Decoration Ideas
Now that your cake is layered and frosted, it’s time to make it truly show-stopping with decorations that highlight its flavor and beauty. Whether you’re going for elegant simplicity or eye-catching flair, the right finishing touches can elevate your strawberry layer cake from delicious to unforgettable.
Using Fresh Strawberries for Garnish
- Fresh strawberries are the most natural and beautiful way to decorate a strawberry cake. You can:
- Slice them thinly and fan them out across the top.
- Use whole berries for a rustic and charming look.
- Create a spiral pattern or ring of berries around the edges for a clean, symmetrical design.
- For an added touch, dip strawberries in chocolate or dust them lightly with powdered sugar before placing them on the cake.
Piping Designs with Buttercream or Whipped Frosting
- If you want a more refined finish, use a piping bag fitted with different tips to create:
- Rosettes
- Shell borders
- Swirls or stars
- Colored frosting (tinted pink with strawberry powder or food coloring) adds a soft, romantic touch.
- You can also pipe small dollops between layers or around the top edge for extra detail.
Adding Sprinkles, Edible Flowers, or Chocolate Shavings
- For a fun or festive look, consider:
- Pastel sprinkles or pearlescent sugar beads for birthdays or celebrations.
- Edible flowers like pansies, violets, or rose petals for a fresh, garden-inspired look.
- White or dark chocolate curls/shavings to add contrast and richness.
- A light dusting of powdered sugar through a stencil can also create a beautiful lace or heart pattern.
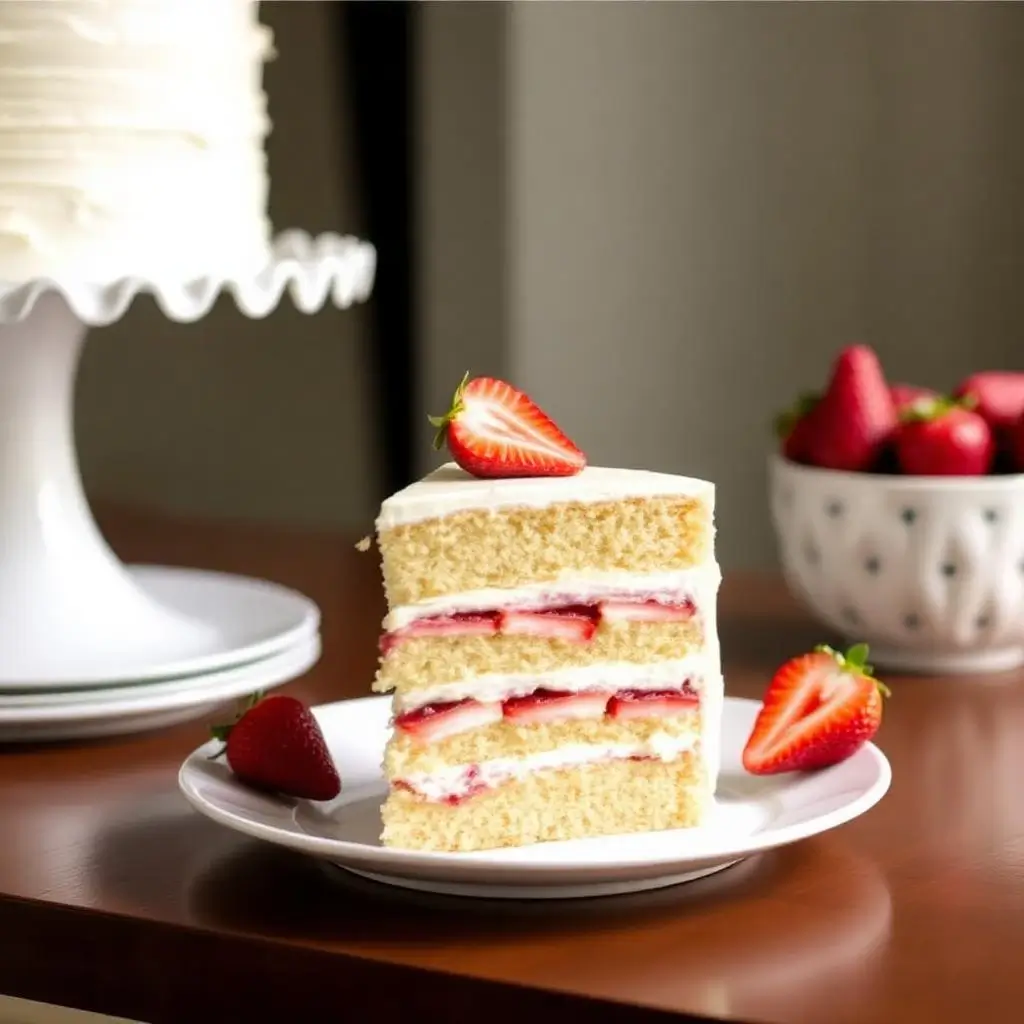
Presentation Matters
- Serve your finished cake on a cake stand to add height and presence.
- If it’s for a special occasion, pair it with matching table decor like fresh flowers, pastel linens, or strawberry-themed accessories.
- Don’t forget to slice cleanly with a warm, sharp knife to show off those gorgeous pink layers inside!
Conclusion
Creating the perfect strawberry layer cake from scratch is a rewarding process that blends fresh ingredients, thoughtful preparation, and a little creativity. From making a vibrant strawberry puree to carefully layering and decorating your cake, every step contributes to a dessert that’s as beautiful as it is delicious. Whether you’re baking for a celebration or simply to treat yourself, this homemade cake delivers fresh flavor, rich texture, and a stunning presentation that’s sure to impress.
By following this guide, you’ll not only master a classic dessert—you’ll also gain confidence in the kitchen, learn pro tips for baking and assembling, and have fun along the way. So grab your apron, gather your ingredients, and let the scent of strawberries fill your kitchen—it’s time to bake something unforgettable!