
If you’ve ever scrolled through social media on a Thursday, chances are you’ve seen the iconic pink boxes of Crumbl Cookies making an appearance. With their massive size, gooey centers, and rotating weekly flavors, Crumbl has transformed from a small Utah bakery into a nationwide sensation that has cookie enthusiasts lining up for their latest creations.
But what if you could recreate that same Crumbl magic in your own kitchen? Whether your nearest location is hours away, you’re looking to save some money, or you just can’t wait until the weekend to satisfy your craving for that favorite flavor that rotated off the menu, making Crumbl-inspired cookies at home might be the perfect solution.
In this comprehensive guide, we’ll walk you through everything you need to know to recreate those thick, soft-centered cookies with their signature flavors and textures. From the essential ingredients and techniques that give Crumbl cookies their distinctive character to step-by-step recipes for their most beloved flavors, you’ll soon be impressing friends and family with your own homemade versions of these viral treats.
Get ready to master the art of baking cookies that capture the Crumbl experience – oversized, indulgent, and utterly irresistible – all from the comfort of your home kitchen. Let’s dive into the sweet world of DIY Crumbl cookies!
DIY Crumbl Cookies: Tips for Perfecting Your Batches
the crumbl cookie phenomenon
In just a few short years, Crumbl Cookies has risen from a small-town bakery to a national sensation that has transformed how we think about cookies. With their oversized gourmet treats, rotating weekly flavors, and distinctive pink boxes, Crumbl has carved out a unique space in the dessert industry and created a community of passionate cookie enthusiasts along the way.
The Story Behind Crumbl Cookies (Jason McGowan and Sawyer Hemsley)
The Crumbl story begins with two cousins, Jason McGowan and Sawyer Hemsley, who shared a vision of creating the world’s best chocolate chip cookie. In 2017, they opened their first store in Logan, Utah, armed with little more than determination and Hemsley’s recipe testing skills. What followed was a process of relentless experimentation – testing different ingredients, baking methods, and taste-testing with family, friends, and even strangers on the street to perfect their signature chocolate chip cookie.
What began as a single storefront quickly gained traction. The cousins recognized the power of social media early on, leveraging platforms like Instagram and TikTok to showcase their photogenic creations. The strategy paid off spectacularly. From that first Utah location, Crumbl expanded to over 500 locations nationwide in just a few years, making it one of the fastest-growing bakery chains in U.S. history.
McGowan, with his tech background, and Hemsley, with his eye for design and branding, proved to be the perfect combination of talents to build not just a cookie shop but a full-fledged cultural phenomenon. Their focus on both quality and experience has transformed Crumbl from a simple bakery into a lifestyle brand with millions of devoted followers.
What Makes Crumbl Cookies So Special
The Crumbl difference is evident from the moment you open that pink box. Several key factors set these cookies apart from anything else in the bakery world:
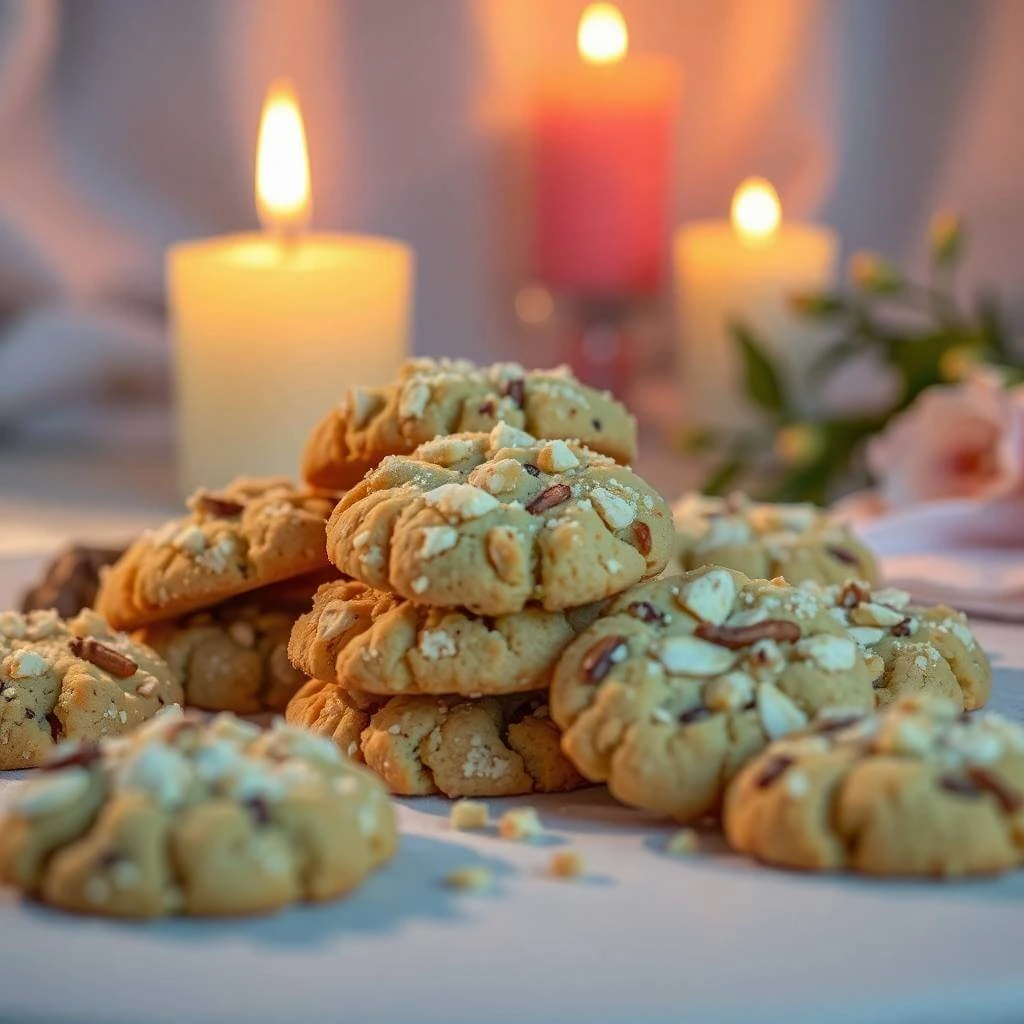
Size and Texture: Each Crumbl cookie is a substantial 4 ounces – significantly larger than traditional cookies. They’re served warm (for most flavors) with a distinctive texture profile: slightly crisp on the edges but with an irresistibly soft, almost underbaked center that creates that perfect gooey bite.
Premium Ingredients: Crumbl doesn’t cut corners when it comes to quality. Real butter, high-quality chocolate, fresh fruits, and specialty ingredients feature prominently in their recipes. You can taste the difference in every bite.
Presentation: The visual appeal of Crumbl cookies is undeniable. From their uniform thickness to the artfully applied frosting and toppings, these cookies are designed to be as beautiful as they are delicious – perfect for the Instagram era.
The Pink Box: Never underestimate the power of distinctive packaging. The signature pink box has become instantly recognizable, creating an unboxing experience that customers eagerly share on social media platforms.
Freshness Factor: Crumbl bakes their cookies throughout the day, ensuring customers receive fresh-baked treats rather than cookies that have been sitting in a case for hours.
The Weekly Flavor Rotation Concept
Perhaps Crumbl’s most ingenious innovation is their rotating menu concept. While their milk chocolate chip cookie remains a constant fixture, the rest of the menu changes weekly, with four to five new flavors announced every Sunday night at 8 PM EST across their social media channels.
This rotation system accomplishes several brilliant marketing goals:
Creating Urgency: The limited-time availability of each flavor creates a “get it before it’s gone” urgency that drives customers to visit regularly.
Building Anticipation: The Sunday night flavor reveals have become a social media event, with fans speculating about upcoming flavors and reacting to the announcements in real-time.
Encouraging Repeat Visits: Cookie enthusiasts routinely check back to try new offerings or celebrate the return of favorite flavors that might only appear a few times per year.
Testing Ground: The rotation allows Crumbl to continuously innovate and gauge customer response to new flavors without committing to permanent menu additions.
With over 200 flavors in their rotation – from classics like Chocolate Chunk to more adventurous offerings like Lemon Blackberry and Caramel Popcorn – there’s always something new to discover. This constant innovation keeps the brand fresh and customers engaged in a way few other food establishments have mastered.
Why Making Them at Home Is Worth It
While nothing quite replaces the experience of visiting a Crumbl store, creating these famous cookies in your own kitchen offers several compelling advantages:
Availability Anytime: Missed your favorite flavor in the rotation? When you master the copycat recipe, you can enjoy it whenever the craving strikes, not just when it appears on the Crumbl menu.
Cost Efficiency: Let’s be honest – at around $4-5 per cookie, a Crumbl habit can get expensive. Baking them at home is significantly more economical, especially when serving a family or group.
Customization Options: Creating your own versions allows you to adjust sweetness, add extra mix-ins, or even adapt recipes to accommodate dietary restrictions or allergies.
Baking Skills Development: Mastering these recipes helps develop valuable baking techniques – from achieving the perfect cookie texture to creating professional-looking decorations and toppings.
Sharing Experience: Homemade Crumbl-style cookies make impressive gifts for friends, contributions to potlucks, or special treats for celebrations. Plus, the baking process itself can be a fun activity to share with family and friends.
Mastering the Crumbl Cookie Basics
Before diving into specific recipes, it’s important to understand the fundamental ingredients, tools, and techniques that make Crumbl cookies unique. Mastering these basics will help you achieve that signature look and texture regardless of which flavor you’re attempting to recreate.
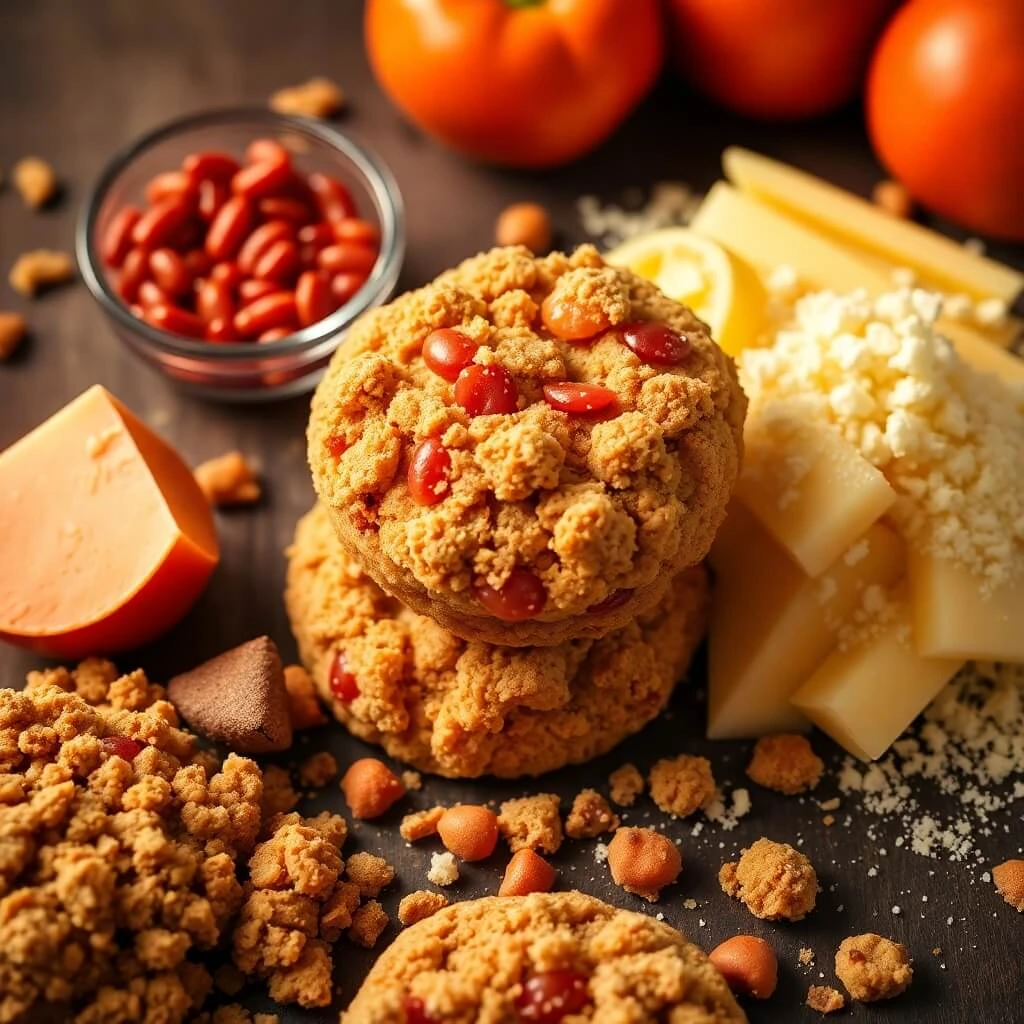
Essential Ingredients for Authentic Crumbl Flavors
The quality and specific types of ingredients you use significantly impact the final result of your Crumbl-style cookies. Here are the must-haves for your pantry:
Cake Flour: Many Crumbl cookies use cake flour either exclusively or mixed with all-purpose flour. Cake flour’s lower protein content creates a more tender, soft texture that’s characteristic of many Crumbl varieties.
Cold Butter: Unlike many cookie recipes that call for room temperature or melted butter, Crumbl often uses cold, cubed butter that’s incorporated into the dry ingredients. This method contributes to their distinctive texture.
Brown Sugar: The higher ratio of brown to white sugar in many Crumbl recipes creates chewier cookies with deeper flavor notes. Dark brown sugar can be used for even richer results.
High-Quality Chocolate: For chocolate chip varieties, invest in good-quality chocolate chips or chunks. Crumbl often uses larger chocolate pieces that create photogenic melty pockets throughout their cookies.
Pure Vanilla Extract: Skip the imitation vanilla and opt for pure extract – the difference in flavor is noticeable, especially in subtly flavored cookies like their sugar cookie base.
European-Style Butter: With its higher fat content, European-style butter creates richer, more flavorful cookies. While not strictly necessary, it’s a worthwhile upgrade if you’re aiming for premium results.
Specialty Ingredients: Keep artisanal additions on hand for specific flavors – things like quality cinnamon, freeze-dried fruits for natural coloring and flavoring, and specialty extracts like almond, maple, and lemon.
Must-Have Baking Tools and Equipment
The right tools make a significant difference when recreating Crumbl cookies at home:
Stand Mixer: While not absolutely essential, a stand mixer makes the process of incorporating cold butter and achieving the right dough consistency much easier.
Large Cookie Scoop: A 1/4 cup (4-tablespoon) cookie scoop helps create the uniform size that Crumbl is known for. This is approximately the right size to create their signature 4-ounce cookies.
Kitchen Scale: For the most accurate results, weighing ingredients (particularly flour) ensures consistency every time you bake.
Silicone Baking Mats or Parchment Paper: These prevent sticking and provide even baking, crucial for achieving those perfectly golden bottoms.
Large Baking Sheets: Larger, commercial-sized baking sheets allow for proper spacing between these oversized cookies.
Cooling Racks: Essential for allowing cookies to set properly after baking.
Offset Spatula: For applying frosting with that signature Crumbl swirl or smooth finish.
Piping Bags and Tips: Helpful for creating decorative elements and perfectly portioning frostings and fillings.
Crumbl’s Secret Techniques for Perfect Texture
Understanding these key techniques will help you achieve that distinctive Crumbl texture:
Cold Butter Method: Starting with cold, cubed butter rather than room temperature creates a different internal structure in the cookie, contributing to their unique texture.
Minimal Mixing After Flour Addition: Once dry ingredients are added, mix just until combined. Overmixing activates more gluten, resulting in tougher cookies rather than the tender Crumbl texture.
Proper Chilling: Many Crumbl-style doughs benefit from chilling for at least 1-2 hours (sometimes overnight) before baking. This prevents excessive spreading and enhances flavor development.
Higher Oven Rack Position: Baking on the top third of the oven often helps achieve the right balance of doneness – fully baked on the outside while maintaining that signature soft center.
Slightly Underbaking: Crumbl cookies are famous for their gooey centers. Remove cookies from the oven when the edges are set but the centers still look slightly underdone – they’ll continue cooking on the baking sheet.
Post-Bake Shaping: For perfectly round cookies, use a large round cookie cutter or glass to gently swirl around each cookie immediately after removing from the oven, shaping any irregular edges into a perfect circle.
Tips for Achieving That Signature Size and Thickness
The distinctive appearance of Crumbl cookies is part of their appeal – here’s how to replicate it:
Proper Portioning: Use a 1/4 cup scoop (approximately 4 tablespoons of dough) for each cookie to achieve the right size.
Height vs. Width: Rather than flattening cookie dough completely before baking, form tall cylinders of dough. They will spread naturally while maintaining some height.
Adequate Spacing: Leave 3-4 inches between cookies on the baking sheet – they spread significantly.
Cookie Dough Temperature: Chilled dough spreads less during baking, helping maintain thickness.
Flour Ratio: Slightly increasing the flour in adapted recipes helps achieve thicker cookies.
Baking Powder Addition: Adding a bit more leavening agent can help cookies rise rather than spread, contributing to that thick Crumbl profile.
Mid-Bake Shaping: For extra thick cookies, some bakers use the “pan-banging” technique in reverse – instead of banging the pan to flatten cookies, they use a spoon to gently push in any edges that are spreading too thin during the baking process.
Classic Crumbl Cookie Recipes to Try at Home
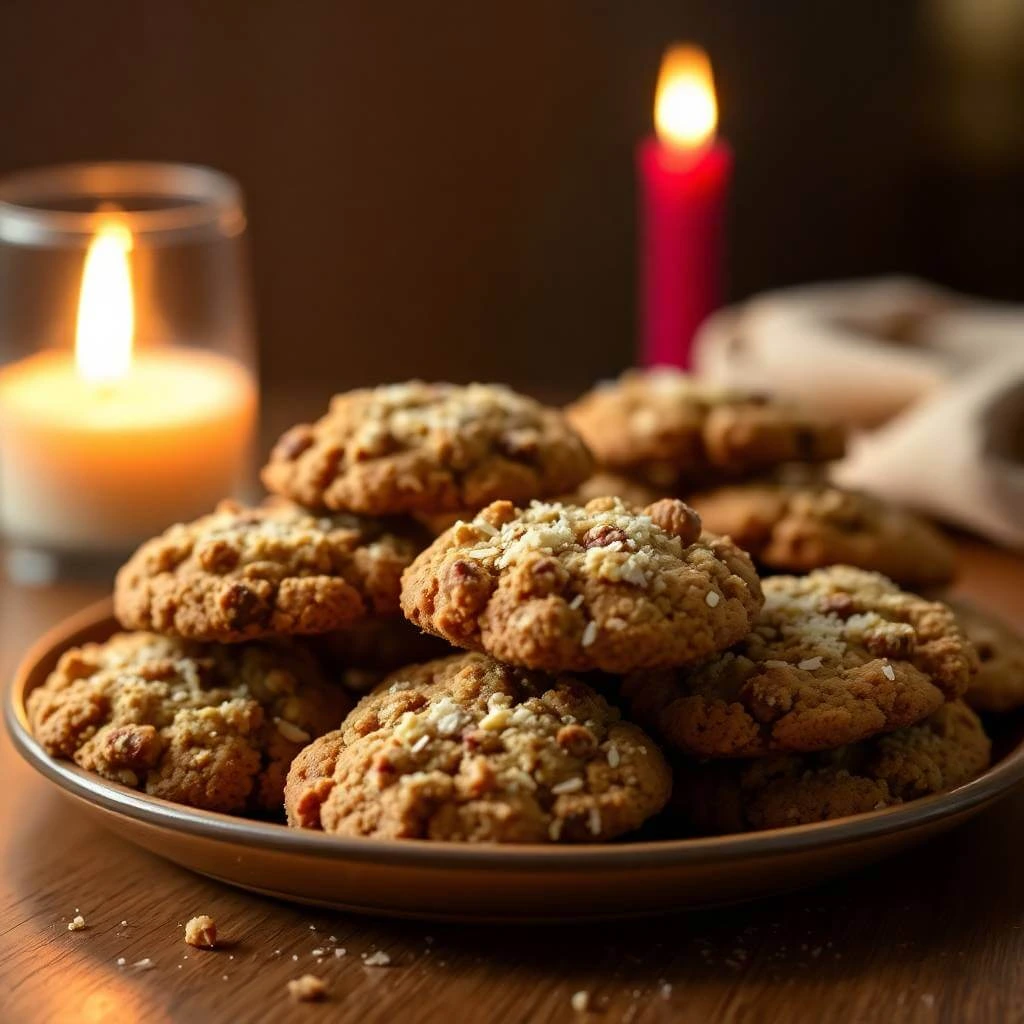
Now that we’ve covered the basics, let’s dive into recreating some of Crumbl’s most beloved classic flavors that frequently appear in their rotation.
Milk Chocolate Chip (The Original)
The cookie that started it all – Crumbl’s warm chocolate chip cookie is a consistently available staple on their menu. Here’s how to recreate it at home:
Ingredients:
- 1 cup (2 sticks) cold unsalted butter, cubed
- 1 cup dark brown sugar, packed
- 1/2 cup granulated sugar
- 2 large eggs
- 1 tablespoon pure vanilla extract
- 2 3/4 cups all-purpose flour
- 1 teaspoon baking soda
- 1/2 teaspoon baking powder
- 3/4 teaspoon salt
- 2 cups high-quality milk chocolate chips or chunks (plus extra for topping)
Instructions:
- In a stand mixer fitted with the paddle attachment, cream together cold cubed butter, brown sugar, and granulated sugar for 2-3 minutes until light but not fully incorporated (you should still see small butter pieces).
- Add eggs one at a time, mixing after each addition, then add vanilla extract.
- In a separate bowl, whisk together flour, baking soda, baking powder, and salt.
- Add dry ingredients to wet ingredients and mix on low speed just until flour disappears.
- Fold in chocolate chips by hand, reserving a few for topping.
- Use a 1/4 cup scoop to portion dough, then roll into balls and place on a parchment-lined baking sheet, spacing 3-4 inches apart.
- Refrigerate dough balls for at least 1 hour (or overnight for best results).
- Preheat oven to 375°F (190°C).
- Press a few extra chocolate chips onto the top of each dough ball.
- Bake for 9-11 minutes until edges are golden but centers still look slightly underdone.
- Allow cookies to cool on the baking sheet for 10 minutes before transferring to a wire rack.
- Serve warm for the authentic Crumbl experience.
Pro Tip: For that signature Crumbl look, use a large round cookie cutter or glass to “scoot” around each cookie immediately after removing from the oven, creating perfectly round edges.
Pink Sugar Cookie with Almond Frosting
A Crumbl classic and fan favorite, this pretty-in-pink cookie features a soft, buttery base topped with a signature pink almond-flavored frosting.
Cookie Ingredients:
- 1 cup (2 sticks) unsalted butter, cold and cubed
- 1 cup granulated sugar
- 2 large eggs
- 1 teaspoon vanilla extract
- 1/2 teaspoon almond extract
- 3 cups all-purpose flour
- 1/2 teaspoon baking powder
- 1/2 teaspoon salt
Almond Frosting Ingredients:
- 1/2 cup (1 stick) unsalted butter, softened
- 2 cups powdered sugar
- 2-3 tablespoons heavy cream
- 1/2 teaspoon almond extract
- 1/4 teaspoon vanilla extract
- Pinch of salt
- Pink food coloring (preferably gel)
Instructions:
- In a stand mixer with paddle attachment, cream butter and sugar together for 2 minutes.
- Add eggs one at a time, then add vanilla and almond extracts.
- In a separate bowl, whisk together flour, baking powder, and salt.
- Add dry ingredients to wet ingredients and mix until just combined.
- Scoop 1/4 cup portions of dough, roll into balls, and place on a parchment-lined baking sheet.
- Flatten each dough ball with the bottom of a glass to about 1/2 inch thickness.
- Refrigerate for at least 30 minutes.
- Preheat oven to 350°F (175°C).
- Bake for 9-11 minutes until barely golden on the bottom edges.
- Cool completely on a wire rack before frosting.
For the frosting:
- Beat softened butter until creamy.
- Gradually add powdered sugar, alternating with small amounts of heavy cream.
- Add almond extract, vanilla extract, and salt, beating until smooth.
- Add pink food coloring a little at a time until you achieve the signature Crumbl pink shade.
- Spread a generous layer of frosting on each cooled cookie using an offset spatula, creating a smooth finish with a slight swirl pattern.
Pro Tip: Chill the frosted cookies for about 20 minutes to set the frosting before serving. Unlike the chocolate chip cookie, this one is typically served chilled.
Birthday Cake Cookie with Sprinkles
This festive cookie captures the flavor of birthday cake in cookie form, complete with colorful sprinkles and vanilla cream cheese frosting.
Cookie Ingredients:
- 1 cup (2 sticks) unsalted butter, cold and cubed
- 1 cup granulated sugar
- 1/2 cup light brown sugar, packed
- 2 large eggs
- 1 tablespoon vanilla extract
- 1/2 teaspoon almond extract
- 3 cups all-purpose flour
- 1 teaspoon baking powder
- 1/2 teaspoon baking soda
- 1/2 teaspoon salt
- 1/3 cup rainbow sprinkles (jimmies, not nonpareils)
- 1/2 cup white chocolate chips
Frosting Ingredients:
- 4 oz cream cheese, softened
- 1/4 cup (1/2 stick) unsalted butter, softened
- 2 cups powdered sugar
- 1 teaspoon vanilla extract
- Pinch of salt
- Additional rainbow sprinkles for topping
Instructions:
- In a stand mixer with paddle attachment, cream butter and both sugars for 2-3 minutes.
- Add eggs one at a time, then add vanilla and almond extracts.
- In a separate bowl, whisk together flour, baking powder, baking soda, and salt.
- Add dry ingredients to wet ingredients and mix until just combined.
- Fold in sprinkles and white chocolate chips by hand, being careful not to overmix (which can cause sprinkles to bleed color).
- Scoop 1/4 cup portions of dough, roll into balls, and place on a parchment-lined baking sheet.
- Gently flatten each ball slightly with your palm.
- Refrigerate for at least 1 hour.
- Preheat oven to 350°F (175°C).
- Bake for 11-13 minutes until edges are set but centers still look slightly underdone.
- Cool completely on a wire rack before frosting.
For the frosting:
- Beat cream cheese and butter until smooth and fluffy.
- Gradually add powdered sugar and mix until incorporated.
- Add vanilla extract and salt, mixing until smooth.
- Spread frosting on each cooled cookie, then immediately top with additional rainbow sprinkles.
Pro Tip: For the most authentic birthday cake flavor, look for clear vanilla extract or “cake batter” extract to enhance that classic boxed cake taste.
Chilled Cookies: Key Lime Pie and Raspberry Cheesecake
Crumbl’s chilled cookies provide a refreshing alternative to their warm varieties. Here we’ll cover two popular chilled options that showcase different techniques.
Key Lime Pie Cookie
Cookie Base Ingredients:
- 1 cup (2 sticks) unsalted butter, cold and cubed
- 1 cup granulated sugar
- 2 tablespoons lime zest (from about 3 limes)
- 2 large eggs
- 1 teaspoon vanilla extract
- 3 cups all-purpose flour
- 1/2 teaspoon baking powder
- 1/2 teaspoon salt
Key Lime Filling Ingredients:
- 3/4 cup sweetened condensed milk
- 1/4 cup fresh lime juice
- 1 tablespoon lime zest
- Green food coloring (optional)
- Graham cracker crumbs for garnish
Instructions:
- For the cookie base, cream butter, sugar, and lime zest for 2 minutes in a stand mixer.
- Add eggs one at a time, then vanilla extract.
- Mix dry ingredients in a separate bowl, then add to wet ingredients until just combined.
- Scoop 1/4 cup portions of dough and create a deep indentation in each ball with your thumb.
- Refrigerate dough for 30 minutes.
- Preheat oven to 350°F (175°C).
- Bake for 10-12 minutes until edges are set but not browned.
- If the indentations have puffed up, use the back of a spoon to gently press them down again while cookies are still warm.
- Cool completely on a wire rack.
For the filling:
- Whisk together condensed milk, lime juice, and lime zest until smooth.
- Add a tiny amount of green food coloring if desired.
- Once cookies are completely cool, spoon the filling into each indentation.
- Sprinkle graham cracker crumbs around the edges of the filling.
- Refrigerate for at least 1 hour before serving.
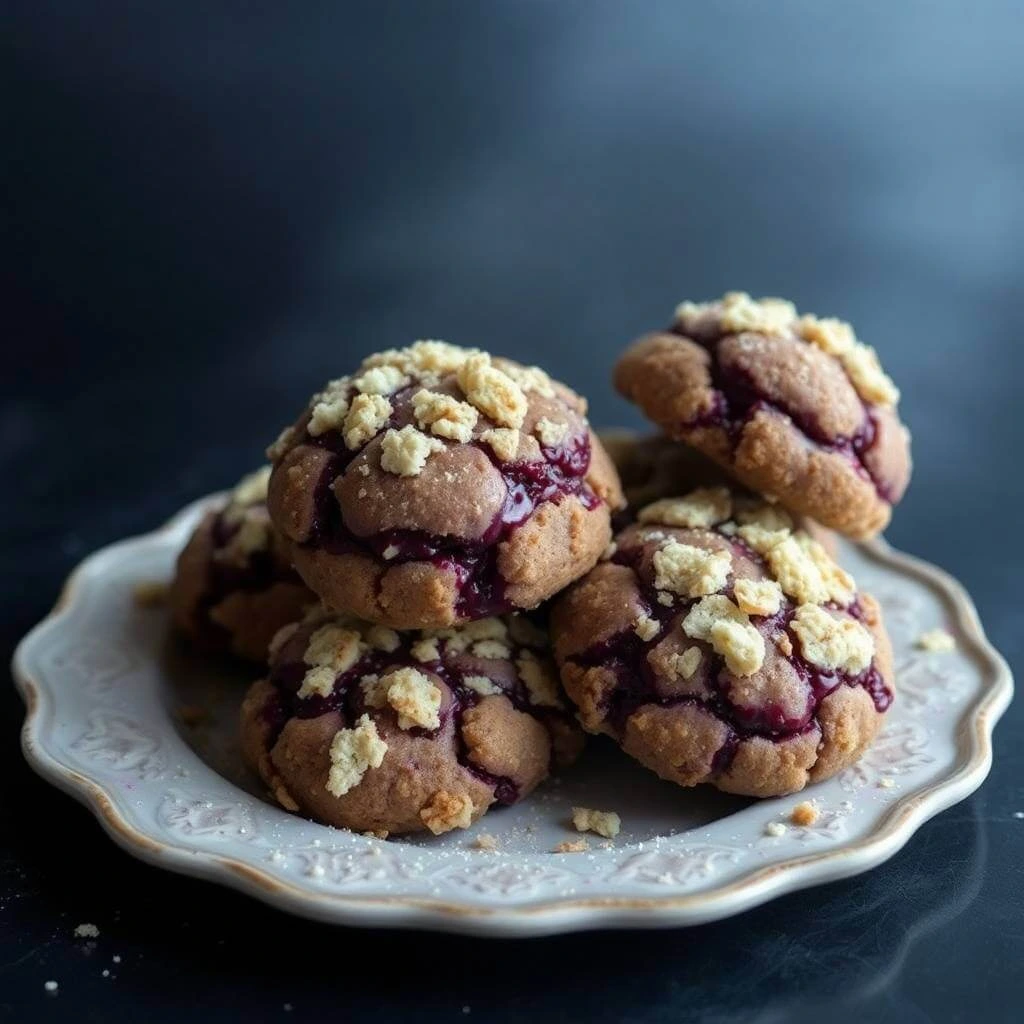
Raspberry Cheesecake Cookie
Cookie Base Ingredients:
- 1 cup (2 sticks) unsalted butter, cold and cubed
- 1 cup granulated sugar
- 2 large eggs
- 1 teaspoon vanilla extract
- 3 cups all-purpose flour
- 1/2 teaspoon baking powder
- 1/2 teaspoon salt
- 1/2 cup graham cracker crumbs
Cheesecake Topping Ingredients:
- 8 oz cream cheese, softened
- 1/4 cup granulated sugar
- 1 large egg
- 1 teaspoon vanilla extract
- Pinch of salt
- 1/2 cup raspberry preserves
- Fresh raspberries for garnish
Instructions:
- For the cookie base, cream butter and sugar for 2 minutes in a stand mixer.
- Add eggs one at a time, then vanilla extract.
- Mix dry ingredients (including graham cracker crumbs) in a separate bowl, then add to wet ingredients until just combined.
- Scoop 1/4 cup portions of dough, flatten into thick discs, and create a shallow indentation in the center.
- Refrigerate dough for 30 minutes.
- Preheat oven to 350°F (175°C).
- Bake for 10 minutes (they will not be fully baked).
For the cheesecake topping:
- Beat cream cheese and sugar until smooth.
- Add egg, vanilla, and salt, mixing until combined.
- Remove partially baked cookies from the oven.
- Spoon about 1 tablespoon of the cheesecake mixture into each indentation.
- Add a small dollop of raspberry preserves on top of the cheesecake mixture.
- Use a toothpick to gently swirl the preserves into the cheesecake.
- Return to the oven and bake for an additional 10-12 minutes until cheesecake is set.
- Cool completely, then refrigerate for at least 2 hours.
- Garnish with fresh raspberries before serving.
Pro Tip: For both chilled cookie varieties, they taste best when refrigerated for at least 4 hours or overnight, allowing the flavors to fully develop.
Seasonal and Fan-Favorite Copycat Recipes
Beyond the classics, Crumbl is known for inventive seasonal offerings and specialty flavors that develop cult followings. Here are some fan-favorite recipes to try at home.
Churro Cookie with Cinnamon Sugar
This warm, cinnamon-spiced cookie captures the essence of a fresh churro, complete with a cinnamon-sugar coating and vanilla cream cheese glaze.
Cookie Ingredients:
- 1 cup (2 sticks) unsalted butter, cold and cubed
- 3/4 cup granulated sugar
- 3/4 cup light brown sugar, packed
- 2 large eggs
- 1 tablespoon vanilla extract
- 3 cups all-purpose flour
- 2 teaspoons cream of tartar
- 1 teaspoon baking soda
- 1 teaspoon salt
- 2 teaspoons ground cinnamon
Cinnamon Sugar Coating:
- 1/4 cup granulated sugar
- 1 tablespoon ground cinnamon
Cream Cheese Glaze:
- 4 oz cream cheese, softened
- 1/2 cup powdered sugar
- 2-3 tablespoons milk
- 1/2 teaspoon vanilla extract
Instructions:
- In a stand mixer, cream butter and both sugars for 2-3 minutes.
- Add eggs one at a time, then vanilla extract.
- In a separate bowl, whisk together flour, cream of tartar, baking soda, salt, and cinnamon.
- Add dry ingredients to wet ingredients and mix until just combined.
- Scoop 1/4 cup portions of dough, roll into balls, and place on a parchment-lined baking sheet.
- Mix the cinnamon sugar coating in a small bowl.
- Roll each dough ball in the cinnamon-sugar mixture, coating all sides.
- Refrigerate for at least 1 hour.
- Preheat oven to 350°F (175°C).
- Bake for 12-14 minutes until edges are set but centers still look soft.
- Allow to cool for 10 minutes on the baking sheet.
For the glaze:
- Beat cream cheese until smooth.
- Add powdered sugar and mix until incorporated.
- Add milk one tablespoon at a time until desired drizzling consistency is reached.
- Add vanilla extract and mix well.
- Drizzle the glaze in a zigzag pattern over the cookies while they’re still slightly warm.
Pro Tip: For an extra authentic touch, sprinkle a bit more of the cinnamon-sugar mixture over the glaze while it’s still wet.
Cornbread Cookie with Honey Butter
This unique cookie combines the comforting flavor of cornbread with the sweetness of honey butter, creating an unforgettable treat.
Cookie Ingredients:
- 1 cup (2 sticks) unsalted butter, cold and cubed
- 3/4 cup granulated sugar
- 1/4 cup honey
- 2 large eggs
- 1 teaspoon vanilla extract
- 2 cups all-purpose flour
- 1 cup fine cornmeal
- 1/2 teaspoon baking powder
- 1/2 teaspoon baking soda
- 1/2 teaspoon salt
Honey Butter Frosting:
- 1/2 cup (1 stick) unsalted butter, softened
- 2 tablespoons honey
- 1 cup powdered sugar
- Pinch of salt
- 1/4 teaspoon vanilla extract
Instructions:
- In a stand mixer, cream butter, sugar, and honey for 2-3 minutes.
- Add eggs one at a time, then vanilla extract.
- In a separate bowl, whisk together flour, cornmeal, baking powder, baking soda, and salt.
- Add dry ingredients to wet ingredients and mix until just combined.
- Scoop 1/4 cup portions of dough, form into thick discs, and place on a parchment-lined baking sheet.
- Refrigerate for at least 1 hour.
- Preheat oven to 350°F (175°C).
- Bake for 12-14 minutes until edges are golden but tops should not brown significantly.
- Cool completely on a wire rack before frosting.
For the honey butter frosting:
- Beat softened butter until creamy.
- Add honey and mix well.
- Gradually add powdered sugar, mixing until smooth.
- Add salt and vanilla extract.
- Spread a generous layer of frosting on each cooled cookie.
- Drizzle a small amount of additional honey on top for garnish.
Pro Tip: For an authentic cornbread texture, don’t skimp on the cornmeal, but make sure it’s fine-ground for the best cookie consistency.
Peanut Butter Cookie with Nutella Swirl
This rich, decadent cookie combines two beloved spreads – peanut butter and chocolate-hazelnut – in one irresistible treat.
Cookie Ingredients:
- 1 cup (2 sticks) unsalted butter, cold and cubed
- 1 cup creamy peanut butter
- 1 cup light brown sugar, packed
- 1/2 cup granulated sugar
- 2 large eggs
- 2 teaspoons vanilla extract
- 3 cups all-purpose flour
- 1 teaspoon baking powder
- 1 teaspoon baking soda
- 1/2 teaspoon salt
- 1/2 cup Nutella, slightly warmed for easier swirling
Instructions:
- In a stand mixer, cream butter, peanut butter, and both sugars for 2-3 minutes.
- Add eggs one at a time, then vanilla extract.
- In a separate bowl, whisk together flour, baking powder, baking soda, and salt.
- Add dry ingredients to wet ingredients and mix until just combined.
- Scoop 1/4 cup portions of dough, form into balls, and place on a parchment-lined baking sheet.
- Use your thumb to create a deep indentation in each cookie.
- Fill each indentation with about 1-2 teaspoons of Nutella.
- Use a knife or toothpick to create a swirl pattern, pulling some of the peanut butter dough into the Nutella.
- Refrigerate for at least 1 hour.
- Preheat oven to 350°F (175°C).
- Bake for 12-14 minutes until edges are set but centers still look soft.
- Allow cookies to cool on the baking sheet for 10 minutes before transferring to a wire rack.
Pro Tip: Don’t skip the chilling step – it’s essential for preventing these cookies from spreading too much and losing their swirl pattern during baking.
Lemon Glaze Cookie
Bright, zesty, and refreshing, this lemon cookie features a buttery base infused with lemon zest and topped with a tangy lemon glaze.
Cookie Ingredients:
- 1 cup (2 sticks) unsalted butter, cold and cubed
- 1 cup granulated sugar
- 2 tablespoons lemon zest (from about 2-3 lemons)
- 2 large eggs
- 1 teaspoon vanilla extract
- 1 teaspoon lemon extract (optional, for stronger lemon flavor)
- 3 cups all-purpose flour
- 1/2 teaspoon baking powder
- 1/2 teaspoon salt
Lemon Glaze Ingredients:
- 2 cups powdered sugar
- 3-4 tablespoons fresh lemon juice
- 1 tablespoon lemon zest
- 1 tablespoon unsalted butter, melted
- Pinch of salt
- Yellow food coloring (optional)
Instructions:
- In a stand mixer, cream butter, sugar, and lemon zest for 2-3 minutes.
- Add eggs one at a time, then vanilla and lemon extracts.
- In a separate bowl, whisk together flour, baking powder, and salt.
- Add dry ingredients to wet ingredients and mix until just combined.
- Scoop 1/4 cup portions of dough, roll into balls, and place on a parchment-lined baking sheet.
- Flatten each ball slightly with your palm to about 3/4 inch thickness.
- Refrigerate for at least 1 hour.
- Preheat oven to 350°F (175°C).
- Bake for 10-12 minutes until edges are just set but cookies are not browned.
- Cool completely on a wire rack before glazing.
For the lemon glaze:
- Whisk together powdered sugar, lemon juice, lemon zest, melted butter, and salt until smooth.
- Add a drop of yellow food coloring if desired for a more vibrant appearance.
- Spoon the glaze over each cookie, allowing it to drip slightly down the sides.
- Let the glaze set for at least 30 minutes before serving.
Pro Tip: For the most vibrant lemon flavor, don’t skip the zest – it contains the essential oils that provide the true lemon character